Our goals for the project are..
1. Remove the front middle bunker. Regrade to allow a proper approach.
2. Locate and move any irrigation pipe and wire to allow for re-contouring.
3. Extend the front left bunker slightly to the right (towards Slocum road) to better protect the green.
4. Completely renovate the back left and front right bunkers.
5. Re-contour around the green to fix surface drainage issues.
6. Re-contour the area to the right of the green to allow for a "collection" area maintained at collar height that will capture balls that roll off the right side of the green.
7. Remove the large ash tree to the right of the green.
8. Re-sod the entire area (other than the green itself)
As work progresses I will post pictures and comments here. I will continue to update this blog post rather than add new posts daily. This will provide a better timeline of our progress organized in chronological order. To see new content just scroll towards the bottom of the page!
Here is a before and after picture that I did quickly in photoshop. The "after" picture doesn't show the placement of the new collar, intermediate, and rough cuts. However it does give a general sense of how the bunkers will look after renovation.
BEFORE

AFTER

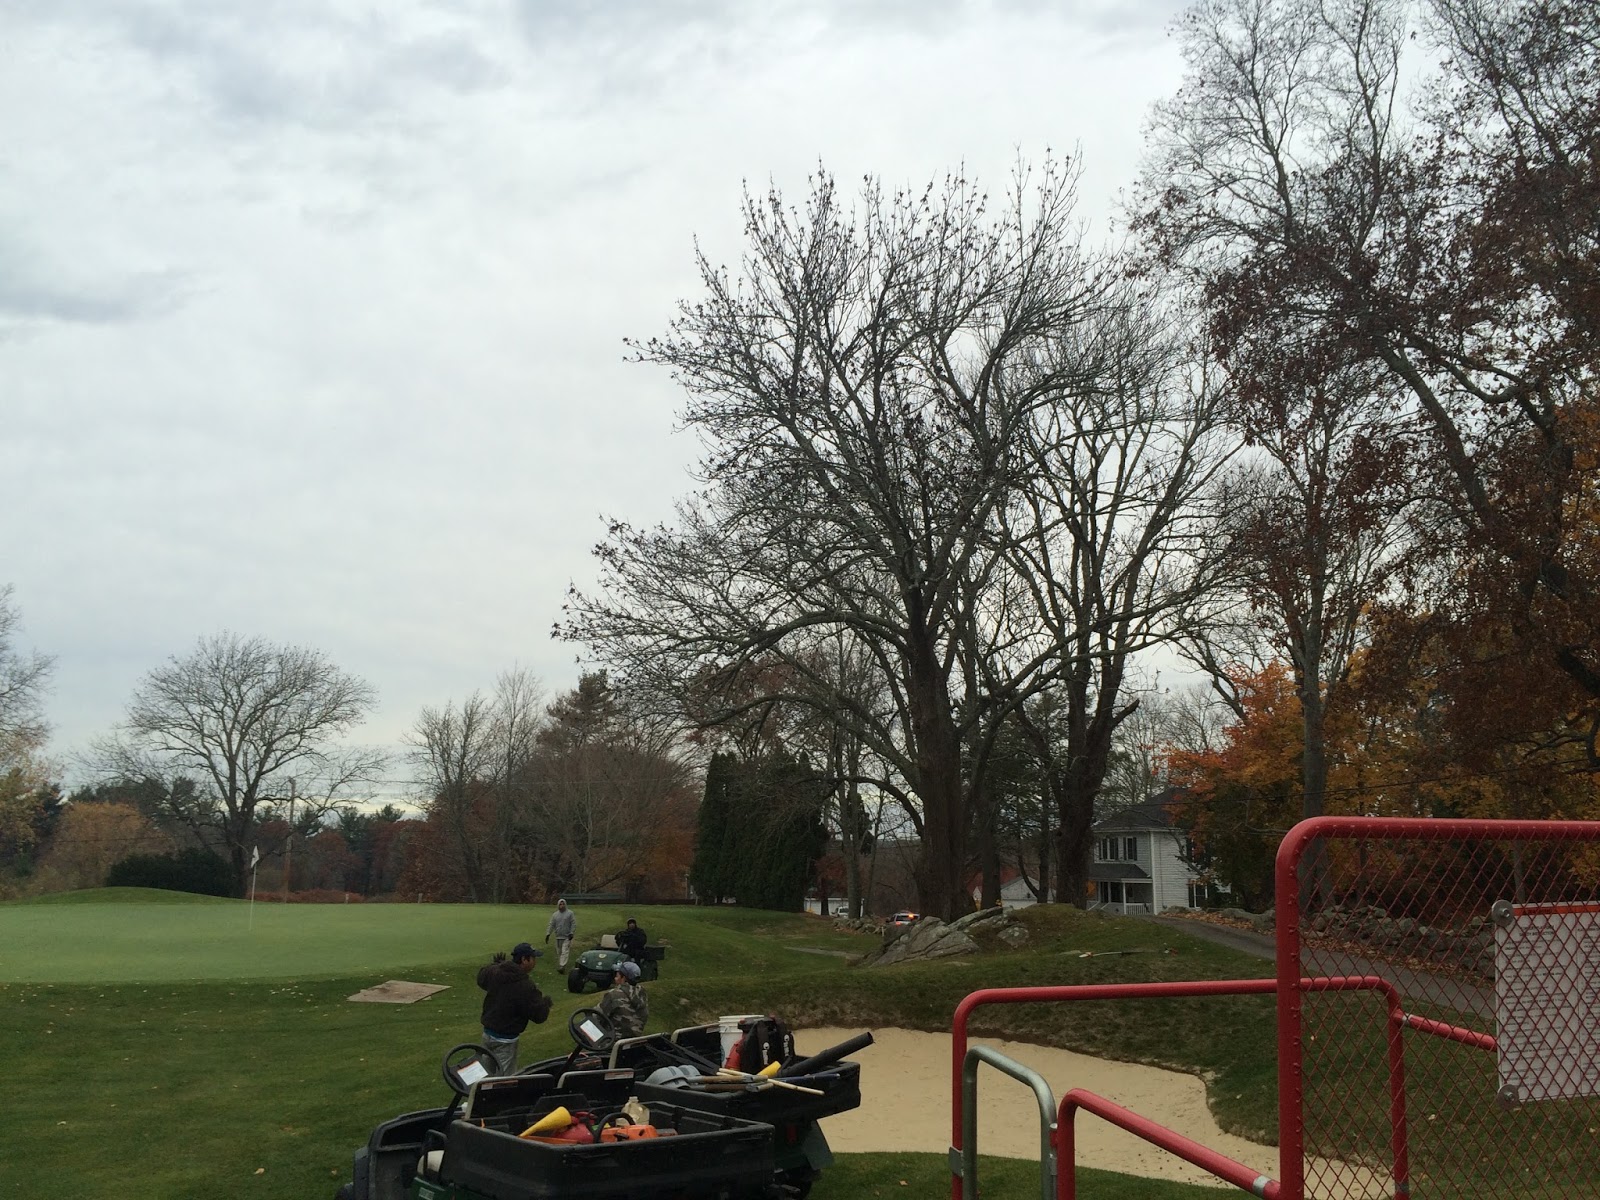
Day 1
Before the work begins! The ash tree to the right of the green set to be removed.
Goodbye..

Days 2 and 3
The focus for day 2 and 3 is the bunker to the right of the green.

Sand is removed from the bunker

Sod is stripped from the bunker and the surrounding area. Sand built up on the face of the bunker is also removed. In the picture below the perimeter of the bunker floor is being raised to set the depth of the renovated bunker.

The floor of the bunker is raised. Stakes and retaining boards are placed to contour the shape of the bunker. In the background Ted Hirshlag is operating the red Jeep and stump grinder removing the stump of the ash tree we cut down.

Loam is back-filled to the boards and the face of the bunker is contoured.

Day 4
The next area of sod is ready to be removed. You may notice the tarps over the face of the bunker that we re-shaped yesterday. They are in place to protect the bare soil from "washing out" during any rain storms that may occur until we lay new sod.

Sod in the process of being removed.


The bunker is now ready to be filled in. After it is filled in the entire area will be re-shaped.


Day 5
The mound in front of the green is removed. The areas in front and to the right of the Green are re-graded.

Sod is stripped from the green to allow for re-grading

Sod is placed off to the side of the green for re-use.

The front of the green being graded.


The area to the right of the green being raised and graded

Sod is replaced on the green.

Done for the day! The next step is expanding / renovating the bunker to the front left of the green and filling in the rest of the bunker to the front middle of the green.

Day 6
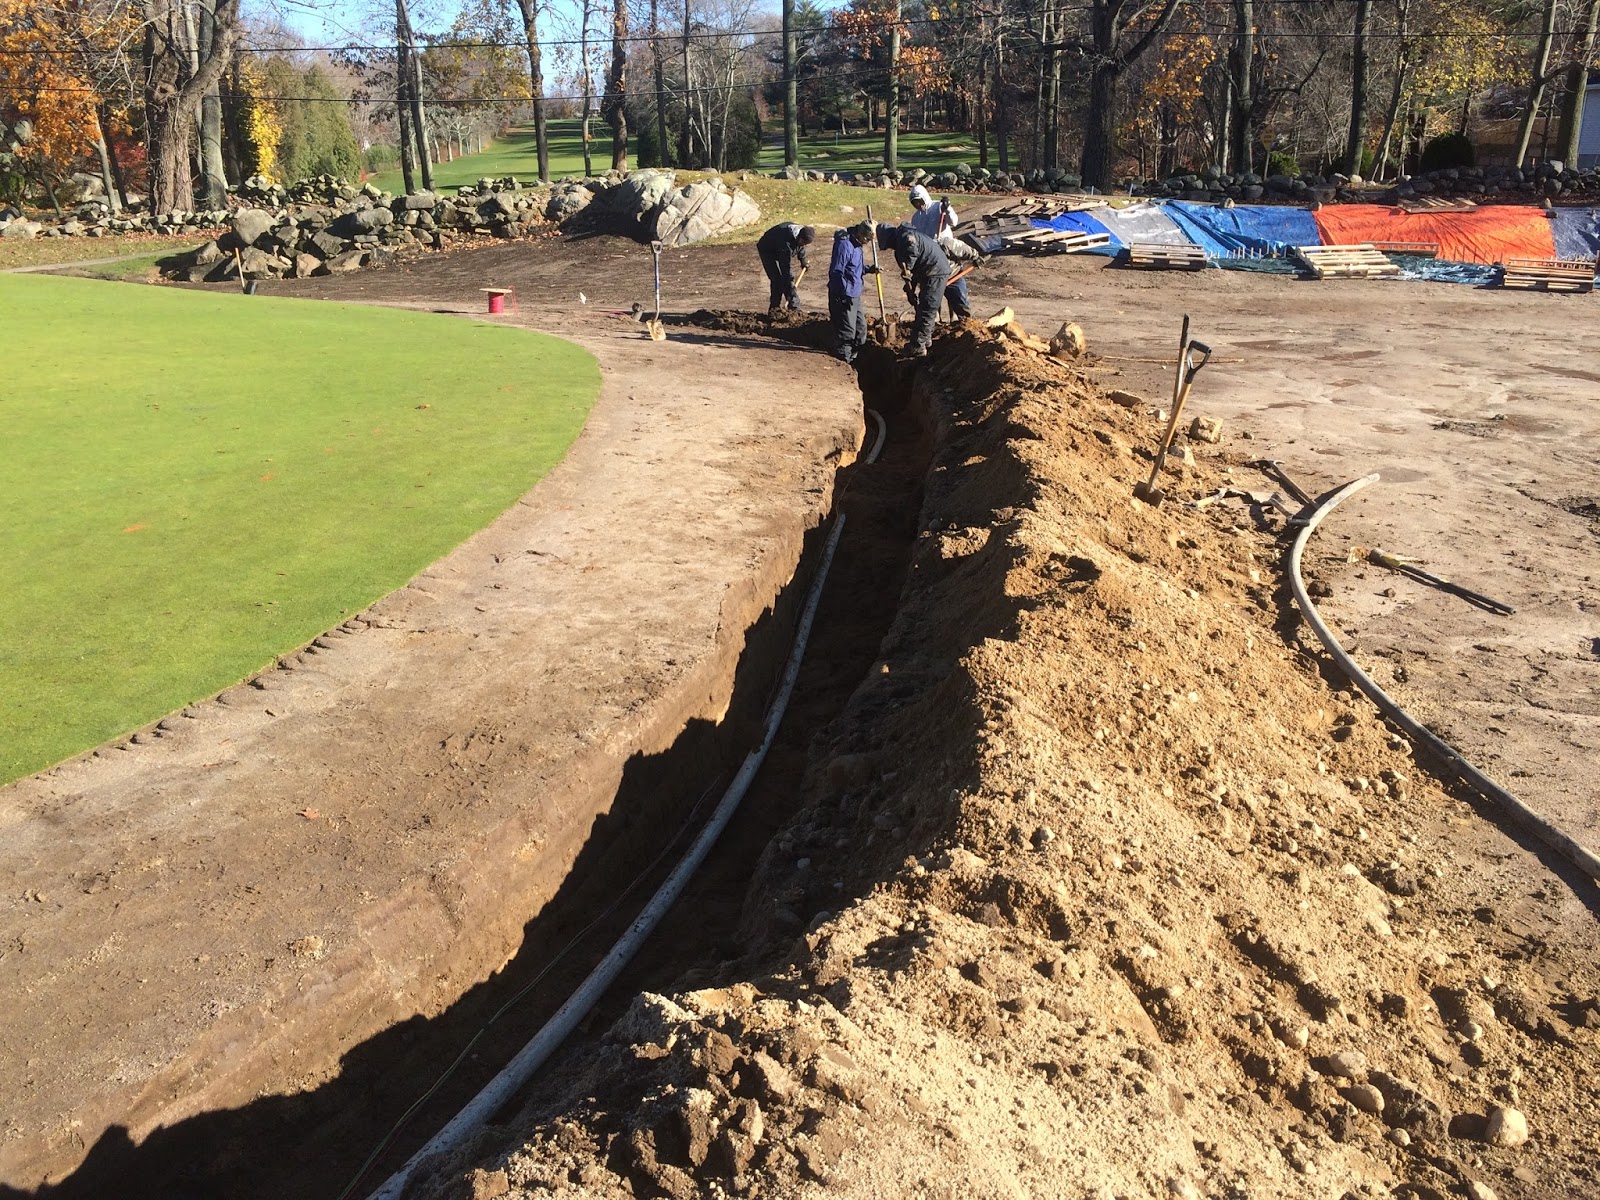
The focus for day 6 is burying irrigation pipe around the front of the green deeper and beginning to expand and rough in the front left bunker.
Because we removed the mound in front of the green and lowered the grade the irrigation pipe and wire that wraps around the front of the green were no longer buried deep enough. Pictured below, the turf care crew is digging a deeper trench for the irrigation pipe and wire.
After the irrigation pipe and wire is buried sod is stripped from the next area to be worked on.

Neil in a backhoe is a scary thought. Fortunately no children or animals were injured.

A drainage catch basin being dug up and removed from what will now be part of the front left bunker.

Done for the day. The material dug out of the bunker to the front left of the green was used to partially fill in the bunker in front of the green. More fill is still required. Tomorrow we will continue to excavate and shape the front left bunker.


Day 7
Excavation of the front left bunker continues..

After the bottom of the bunker is leveled stakes are driven into the ground to frame the shape of the new bunker.


Tomorrow the mounds and face of the the new bunker will be formed.


Day 8
A portion of sod is installed and the front left bunker begins to take shape!


Day 9
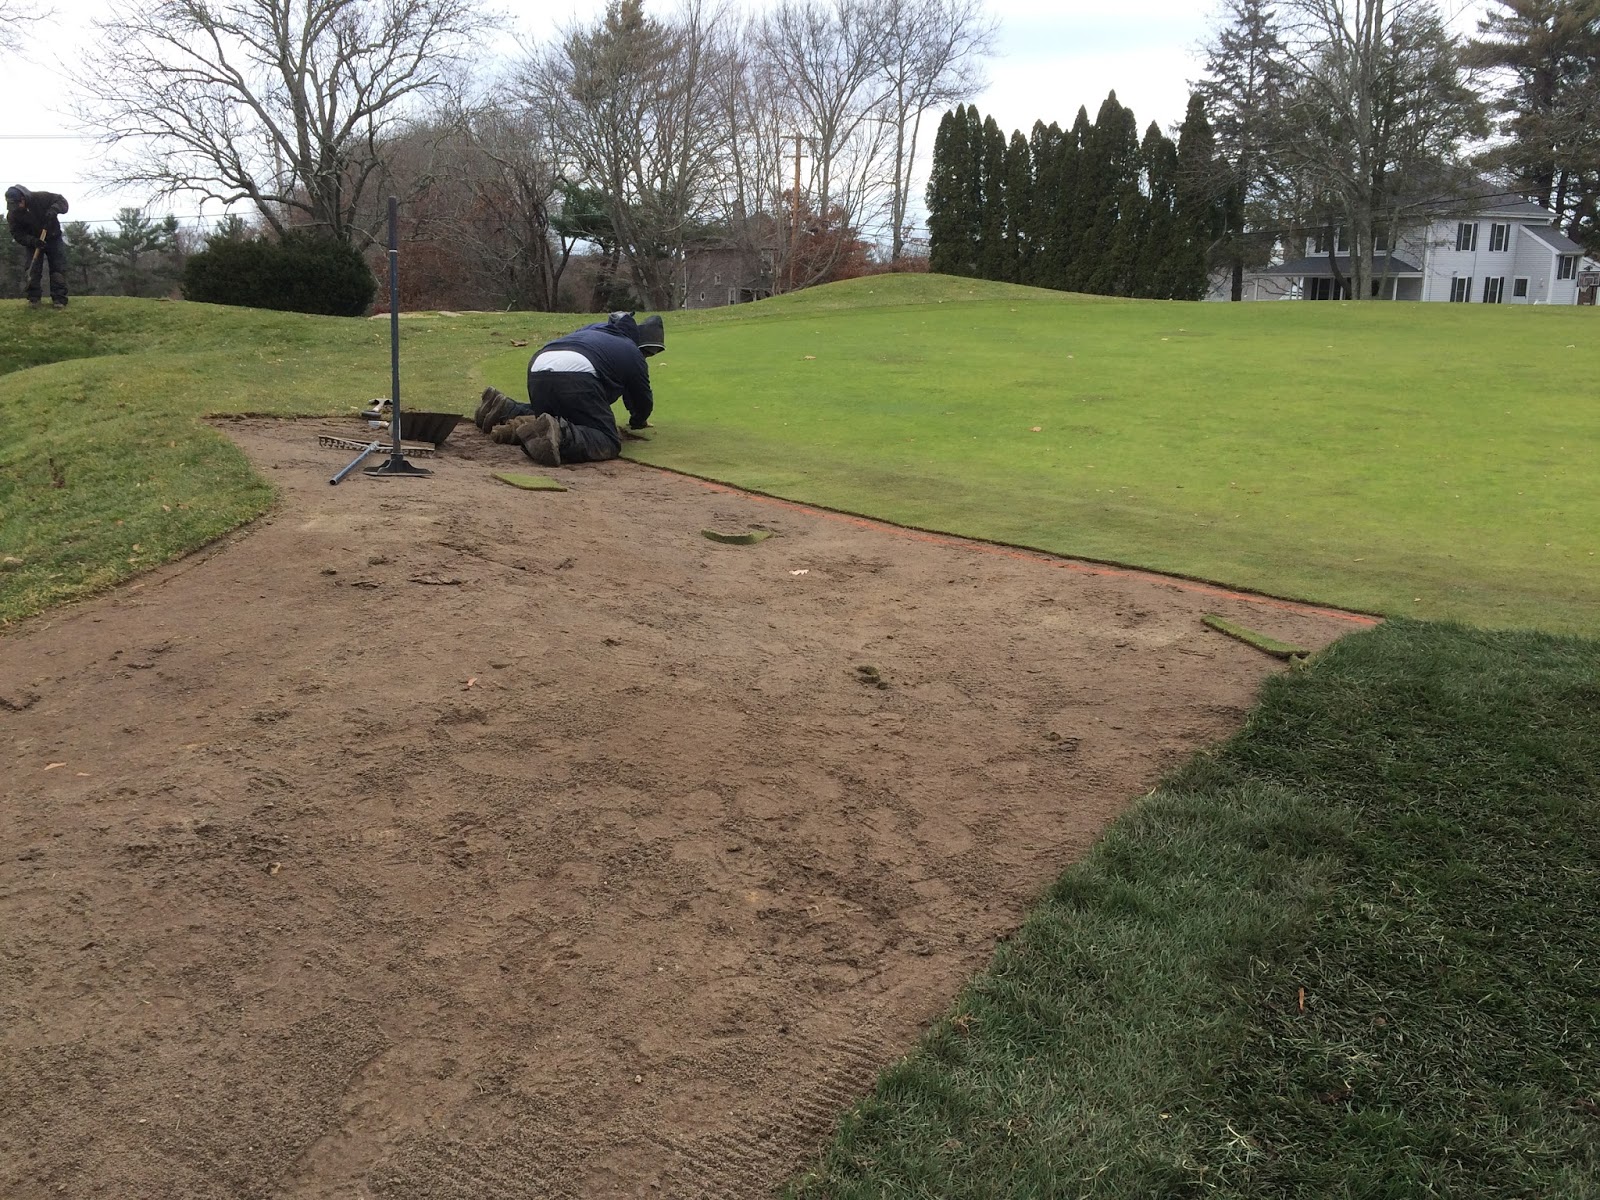
Sod is stripped from the next area to be graded. The new front left bunker is formed and finish graded.


A portion of the new collar is graded


Day 10
More sod is stripped to prepare the area for grading.

The area of new collar to the right of the green is finish graded.

The area is finish graded and is ready for the next batch of sod on Monday morning!


Day 11
New Bentgrass and Bluegrass sod is laid! Only the back left bunker is left to go.


Days 12 and 13
The sod is stripped from the area around the back left bunker. A small area on the left of the green is also stripped to be re-graded for drainage purposes. The back left bunker is renovated and partially sodded. The remaining sod will be delivered Saturday morning and the project will be completed!


Here are a few before and after pictures of the project while still in progress!
BEFORE

AFTER

BEFORE

AFTER

No comments:
Post a Comment